SideKick QuickStart (Adobe Premiere)
This tutorial explains basic usage of SideKick Ex6 in Adobe Premiere. For usage in other hosts, please follow the instructions here. If you’ve not yet installed the plugin follow the installation guide first. Make sure to use the latest version of the plugin.
There are two ways to use audio effects in Adobe Premiere. You can place audio effects directly on a clip, or you can add them as an insert effect in the mixer. In recent versions of Premiere the clips on the timeline are no longer rendered at the same time. Therefor the send and receive plugins are not able to communicate.
If you are using macOS, make sure you are using the Audio Unit (AU). The VST3 is also known to work but the VST version not supported by Premiere.
Get going in 5 steps
Probably the most used application of SideKick is ducking music when a voice over is speaking. Creating room for the voice and pushing the music to the background. Video is often edited in Premiere and you can use SideKick right in Premiere to apply this effect.
To do so follow these steps:
- Open the mixer view of you project. You can open the mixer from the “window” section in the menu bar.
- Click the small arrow in the mixer to show the insert effects section.

First on the voice over channel, insert the plugin by selecting SideKick from the drop down menu. Open the plugin and set this to send.

Open the plugin and set this to send.

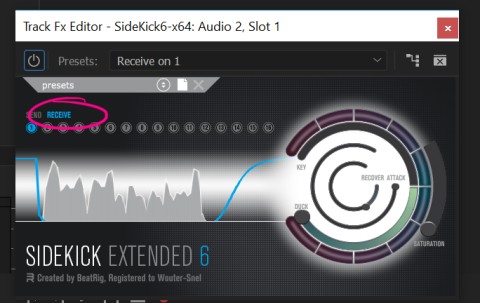
On the music channel, select SideKick from the drop down menu. Open the plugin and set this to receive.

Your done! Now you should hear the music level being decreased when the voice over is speaking. Obviously tweak the settings in the plugin to your needs.